
This is a collaborative post.
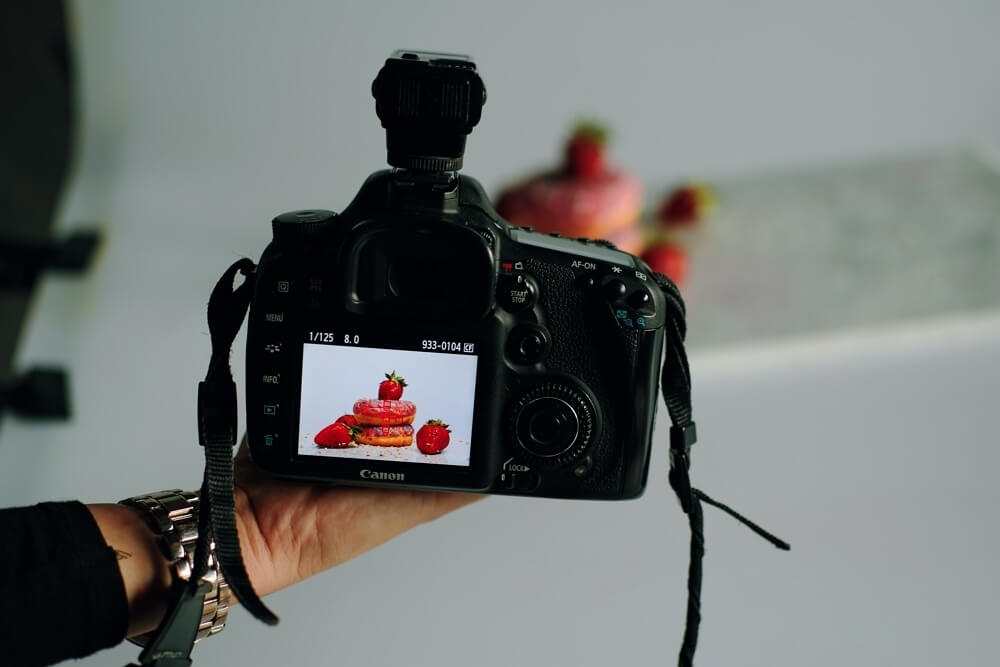
If you’ve ever tried to capture an enticing photo of your lunch or dinner, you’ll know that food photography is actually a whole lot harder than it looks. Being an excellent cook and being able to make food look completely irresistible in photos are two very different things.
While it can take a while to train as a professional food photographer, thankfully, there are a few common tips us food bloggers can follow in order to up our food photography game. Read on for seven top tips to help you take your food photography to the next level.
How food bloggers can improve their photos
Make food look full-bodied
Cooking dishes that look mouth-watering in photos is an acquired skill which often has less to do with how good a cook you are or how amazing your food actually tastes, but more about how the food is styled for the image and presented on the plate. This is why professionals who specialise in food photography aim to emphasise colours and textures, making for truly attention-grabbing pictures.
Many food photographers and food bloggers advise shooting food while it’s still hot and fresh, as well as when it’s slightly undercooked. Another tip is to create full-bodied dishes; don’t be afraid to pair different foods together on your plate and even pile foods on foods. After all, we’ve all seen just how appealing a stack of fluffy American pancakes or a supersized burger can look on the ‘gram!
Improve the colour of dishes
It’s no secret that colours play a major role in photography; photographers have drawn upon the colour wheel when styling their shots for years now. To make your food photos ‘pop’ with colour, consider the colour of the food and aim to present it on plates – and alongside props – that match the colours on the opposite side of the colour wheel.
If a dish looks boring and monocoloured, add some accents to make the colour schemes more interesting. For example, if you’re taking a photo of some juicy tomatoes, add a little mozzarella and basil to the plate. The eye-catching colour combination of red, green and white will create a bright and vivid image that’ll make the viewer’s mouth water, literally.

Adjust light
Never underestimate the importance of good lighting; this is always crucial to taking a great photo, no matter how well you’ve styled your shot.
There’s no real substitute for natural lighting, especially on an overcast day. That said, neatly dispersed lighting on a cloudy day can work beautifully for many photographers, including those who shoot food.
If you cannot place dishes near a window or the weather just isn’t suitable for a photoshoot, consider using reflectors or soft-boxes to introduce more light to your shots.
Take advantage of post-processing tools
Every photographer, regardless of their experience, needs a good editing tool for post-processing. If you’re completely new to the business and you’d prefer to start with an easy-to-use tool that’ll deliver professional results, PhotoWorks might be the perfect choice for you.
However, more seasoned photography pros usually prefer the familiar Lightroom or Photoshop, both of which can offer amazing image-editing capabilities, despite presenting a long and bumpy learning curve. Finally, for non-professionals who just want a free simple tool to make small adjustments to their personal snaps, GIMP is a good option to consider.
Prepare composition
A photograph without a well thought-through composition will stand out for all the wrong reasons. Think ahead and style your photo settings in order to set the scene of the image and create the perfect atmosphere.
Photographing a cup of coffee or beige food, like a slice of pie? Consider using a lightly coloured tablecloth or tea towel to introduce texture and complement the colours of the food. When it comes to styling food photos, aim to create a holistic composition where each element of the image – from the cutlery and napkins to the plates and cups – perfectly complement each other.
The rule of thirds is invaluable when it comes to composition. Generally, whenever you take a photo, you should imagine the image divided into three, both horizontally and vertically. When capturing your shot, the focal point should fall at one of the four intersection points between these lines. Where food is concerned, many photographers like to ensure the food appears towards the bottom of the image, although there are some exceptions to this rule.
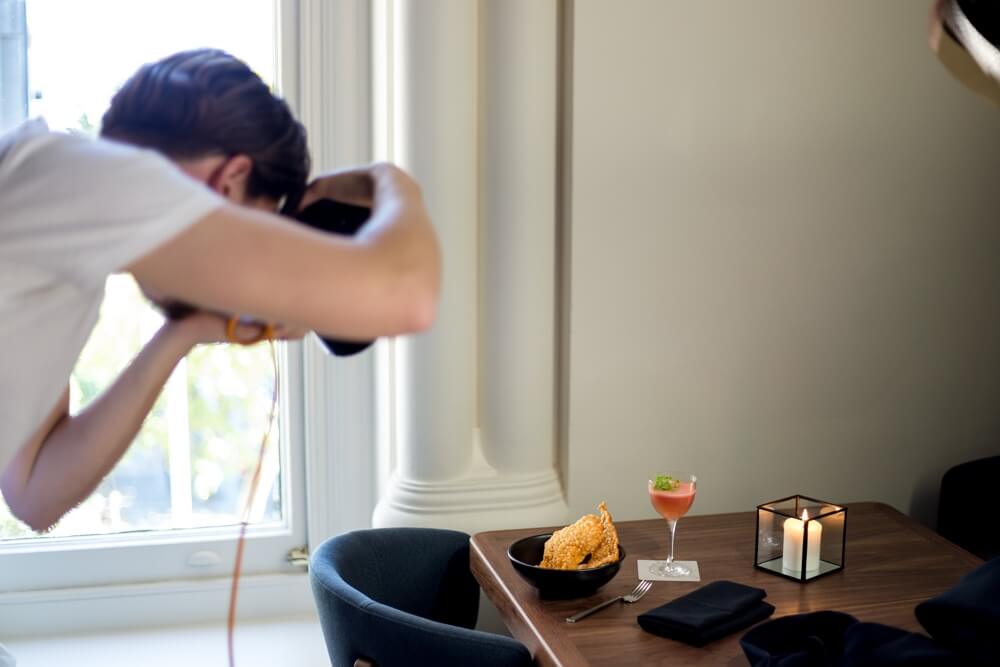
Change the colour theme in the background
We’ve already touched upon the significance of the colour of your food, but you should also pay attention to the colours of any items that surround the food, in addition to the backdrop of your photo.
Not only should you try to make your dishes themselves, look bright and appealing, but you should also aim to ensure the background looks the part too. From the surface you’re taking the image on to the wall (or backdrop) behind it, to the choice of cutlery, condiments and so on. If you’re shooting a recipe dish, scatter a few ingredients around the plate to add additional colour and texture. Usually, you have two key options here: either the surroundings can complement the food, or they can contrast with it and make it stand out.
Absorb professional images
Inspiration is a very important part of any creative endeavour. If you’re not already doing so, you should make a point of following your favourite food photographers on Instagram. Observe the kinds of photographs they post, analysing each image to examine the various components of their shots. What can you spot that you could apply to your own food photography?
Food photography can be surprisingly tough to master, but practice really does make perfect, so don’t give up. Eventually, you’ll find a style that works well for you and if you do make a mistake once in a while, a great photo editing tool can often help you to remedy this.
What are your best food styling and photography tips? Comment below to share your advice with other readers.


This is a collaborative post.