
This is a sponsored post.
With the likes of TikTok & Instagram propelling growth in video content, here’s how to capture quality video for your blog & social channels.
12 years ago, when I first began writing The Rare Welsh Bit, writing blog posts was my main means of communicating with my audience. I’d write up a new blog post and share it to Facebook and Twitter, and that was about as far as it went. While Instagram was established in the same year that my blog was born, it didn’t really gain any traction until several years later, along with Pinterest.
Nowadays, however, video increasingly appears to be overtaking written content when it comes to capturing the hearts and minds of our readers, or our viewers, as is the case more so than ever these days. With video sharing platforms like TikTok growing bigger and bigger each day, and Instagram focusing more heavily on video too, it’s only natural for content creators to feel driven to produce more video content.
While I was once somewhat of a technophobe and I put off experimenting with video for as long as I could, nowadays, I actually really enjoy the creative process of creating Instagram Reels and TikTok videos. Plus, as video content often achieves a higher reach on social media, it can make for a useful way to grow your audience and, therefore, your brand.
So, what is the key to creating video content that performs well on social media and, with a bit of luck, perhaps even goes viral? While I’m yet to post a video that’s gone extremely viral, I’ve had some great success with some of my Instagram Reels and TikToks to-date. So, here are my top tips for capturing quality video content for blogs and social media.
Use a decent camera
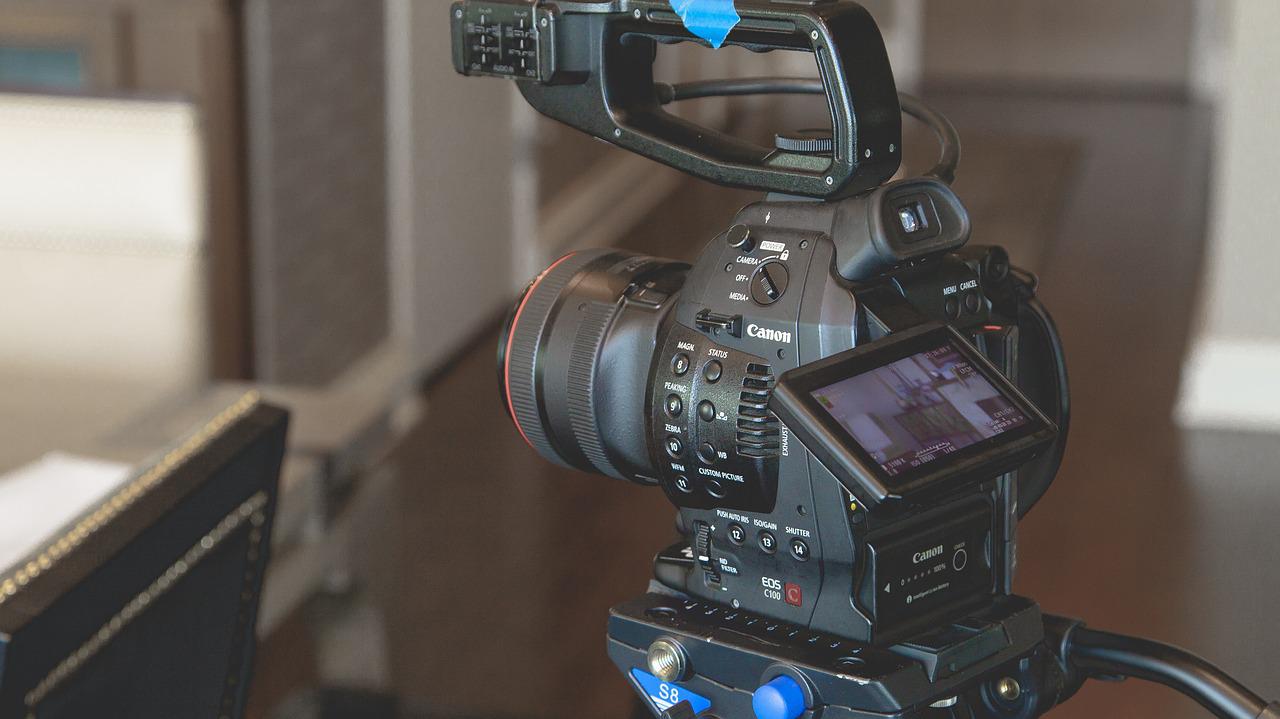
Using a reliable digital camera, camcorder, or a contemporary smart phone with a in-built camera, will always be one of the best ways to achieve smooth, quality video content.
While professional videographers might swear by using the latest cameras or camcorders to film their content, most amateur content creators will be able to produce optimum quality video content for their blog and social channels using a reasonably up-to-date phone camera.
While this doesn’t necessarily mean rushing out to update to the latest iPhone or Samsung, you should at least aim to keep your phone in working order and ensure the software is always up-to-date, whichever model of phone you’ve got. However, upgrading to the latest model certainly isn’t a bad option to consider if you’re looking to improve video quality, as the latest phones will likely have improved lenses and better resolution.
Plan your ‘storyboard’ before you start filming
For me, the very first step to making a quality Instagram Reel or TikTok post, is to simply sit down and think about what I’m hoping to achieve, and how best to tell that story. Usually, I’ll work out a ‘story board’ in my head before I’ve even started capturing content; sometimes, I actually find it helps to bullet-point each ‘stage’ of the video I’m going to film, often even planning what to say on my voiceover in advance, too.
Try this out the next time you start thinking about posting an Instagram Reel or TikTok, or the next time you start thinking about filming an experience that hasn’t yet occurred. Sit down, plan your storyboard, and then observe how it helps you to improve on the video capture process and, hopefully, to improve upon the performance of your Instagram Reels and TikTok content.
Use a tripod or gimbal to steady yourself
No one enjoys watching shaky, badly filmed video footage.
If you’ll be filming content alone and don’t have anyone to hold the camera steady for you, consider investing in a portable lightweight tripod that you can carry with you to help you with your shots.
For as little as £20, you could pick up a relatively decent quality tripod that you can attach either your phone or your camera to, enabling you to steady yourself when filming or taking photos.
Alternatively, if you can afford the extra spend, you might also like to treat yourself to a gimbal, which you can attach to your device. The built-in motion sensor will help to steady the video while you’re filming content on-the go (i.e. when walking or running), or when capturing tracking shots. A gimbal can be particularly useful for capturing travel content, for example.
Ensure your video is in the correct format
It’s pointless spending hours snapping photos or capturing your favourite travel memories on video for your blog or social media channels, if you’re not going to take the time to save it in the correct format for each platform.
Once you’ve finished shooting and editing your video, save it in the format recommended by each relevant channel. Most social media channels prefer .mp4 video format, but Pinterest and TikTok also accept .mov. When it comes to your blog, however, you’ll probably find you can choose from a few different formats, as well as having the option to upload the video to the web to save on space in your media library (although bear in mind that your blog will still need to load the content from the third-party server, too!)
With the Movavi Video Converter for Mac, you can convert videos into over 180 different formats, with the option to compress the files and make edits during the process. While there is a paid version of the software, it costs absolutely nothing to use the free version.
Besides considering the video format, remember to think about the maximum clip length for each platform, the minimum frame rate (frames per second) and recommended resolution too.
Remember, besides adding videos to your social media posts, you can also download videos directly from your social channels for future use or adaptation for other platforms, using tools like this handy Twitter Downloader.
Clean your camera lens
While it may sound a little simple, one of the best tips I can give you for capturing great video content, for any kind of platform, is to clean your camera lens.
Before you capture any kind of content (including photos), give your camera lens a quick wipe with a soft, microfibre cloth, or perhaps just your T-shirt if that’s all you’ve got to hand.
You’ll be surprised at how much crisper and cleaner your images and videos begin to look, when you’re not battling with those greasy smudges on your lens that somehow manage to stay invisible until you take a photo!
This is a sponsored post.