
Travel often leaves us with hundreds of photographs, countless stories and small moments that become more meaningful with time. Yet, all too often, our favourite holiday photos end up sitting unnoticed on a smartphone or computer.
Creating a coffee table travel photo book is a great way to turn those digital memories into something tangible. Combining your favourite images with captions, stories and thoughtful design, a photo book can become both a personal keepsake and an attractive addition to your home.
Whether you’ve just returned from an overseas adventure, a memorable road trip or a family holiday closer to home, here’s how to create a coffee table travel photo book you’ll want to look through for years to come.
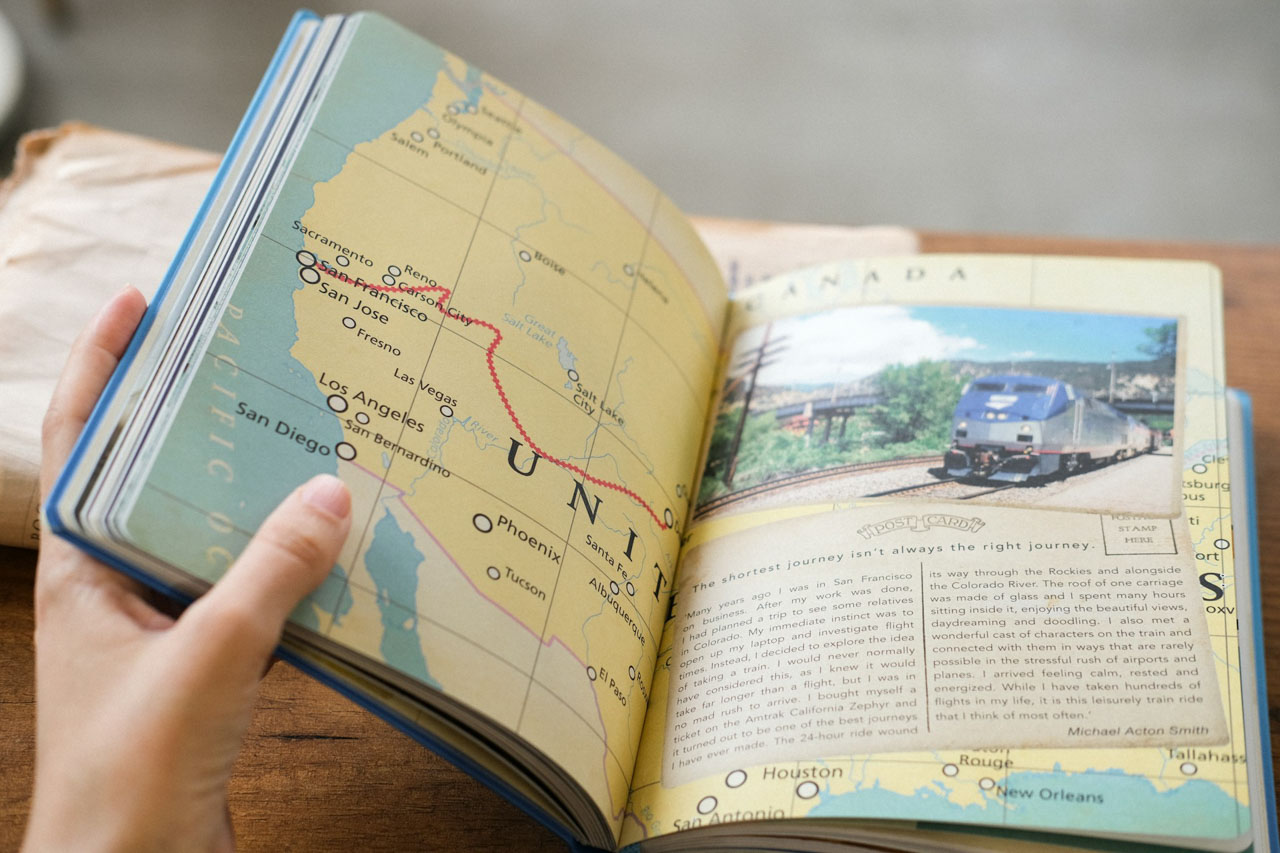
1. Choose the photos that tell your story
The first step is narrowing down your photographs. If you took hundreds – or even thousands – of photos while travelling, resist the temptation to include them all.
Instead, focus on the images that best capture the story of your trip. Alongside photographs of famous landmarks and beautiful landscapes, look for candid moments, interesting details, food, people and everyday scenes that remind you what it actually felt like to be there.
Avoid including several near-identical photographs when choosing images for your coffee table travel book. Selecting one strong image from a particular moment will usually have more impact than filling several pages with similar shots.
Create a separate folder containing your shortlisted photographs so you can see how they work together before beginning the design.
2. Decide how you want to organise your book
Before working on individual pages, think about the overall structure of your photo book.
A chronological layout is one of the simplest approaches. You could begin with your journey to the destination and work through each day or location in the order you experienced them.
Alternatively, organise your photographs by destination, theme or experience. For example, a book documenting a road trip could have a section for each stop, while a food-focused travel book might be divided into restaurants, markets, local dishes and memorable meals.
Having a clear structure will make the finished book easier and more enjoyable to browse.
3. Pick the right format and size
The format of your book can have a surprisingly big impact on how your photographs look.
Landscape books work particularly well for panoramic scenery, architecture and traditional travel photography, while square formats can be useful when combining portrait and landscape images. Larger books can create more of a traditional coffee table feel and give standout photographs plenty of space.
Consider where you plan to keep the finished book, too. If it will sit on your coffee table or bookshelf, check the dimensions beforehand to ensure the finished product will fit comfortably.
Paper and cover choices are also worth considering. A hardcover can give the book a substantial, long-lasting feel, while the paper finish can affect how colours and details appear in print.
4. Create a consistent design
It can be tempting to experiment with lots of different layouts, fonts and decorative elements, but consistency often produces a more polished result.
Choose a small selection of page layouts that can be repeated throughout the book. Some pages might feature one photograph across an entire spread, while others could contain two or three complementary images.
Allow plenty of white space rather than trying to fill every available area. Giving your strongest photographs room to breathe can make the book feel more like a professionally designed travel publication.
The same principle applies to fonts. Choose one or two easy-to-read typefaces and use them consistently for headings, captions and longer pieces of text.
5. Add captions and memories
Photographs might be at the heart of your book, but a little text can add valuable context.
Consider including destination names, dates and short captions explaining where photographs were taken. You could also add memorable quotes, anecdotes or brief diary-style entries.
Think about the details you might otherwise forget. Perhaps you stumbled across a tiny restaurant after taking a wrong turn, tried an unfamiliar local dish or photographed a local person while travelling.
These small observations can become some of the most interesting parts of the book when you look back on it several years later.
6. Mix different types of travel photography
Variety can make a photo book much more engaging to browse.
Rather than filling every page with landscapes and major attractions, include a mixture of wide shots, portraits, food photography, street scenes and close-up details.
Images of menus, market stalls, street signs, hotel rooms, transport and other everyday details can help recreate the atmosphere of a destination.
You could also incorporate scanned tickets, maps, postcards or other travel mementoes if they hold particular significance.
7. Give your best photographs more space
Not every photograph needs to be displayed at the same size.
Choose a handful of standout images and allow them to fill an entire page or double-page spread. These larger images can create natural pauses within the book and draw attention to particularly memorable moments.
Smaller photographs can then be grouped together where they help to tell a wider story.
Before finalising each spread, ask yourself which image you want someone to notice first. This can help you establish a clear visual hierarchy rather than making every photograph compete for attention.
8. Edit your photographs before printing
Photographs can look different on paper than they do on a brightly lit phone or laptop screen, so take some time to edit your final selections before uploading them.
Simple adjustments to exposure, contrast, colour and cropping can help create a more consistent collection, particularly if your photographs were taken on different cameras or phones.
Avoid excessive editing, however. The aim is to make the photographs look their best while retaining the atmosphere and character of the original trip.
It is also important to use the highest-resolution versions of your photographs available, particularly for images that will be printed across a full page or spread.
9. Proofread and preview everything carefully
Before ordering your book, go through every page carefully.
Check the spelling of destinations, people’s names and captions, and make sure dates are correct. Look for photographs that have accidentally been repeated and ensure important details aren’t sitting too close to the edge of the page or disappearing into the centre fold.
Most photo book services provide a digital preview of the finished book. Take advantage of this and browse through it from beginning to end rather than checking individual pages in isolation.
If possible, leave the project for a day or two before doing your final check. Coming back to it with fresh eyes can make small errors much easier to spot.
10. Display your finished travel photo book
Once your photo book arrives, don’t hide it away in a cupboard. Place it somewhere accessible where you and your visitors can pick it up and browse through it.
A coffee table, bookshelf or side table can all work well. You could even create a series of books from different destinations and gradually build a personal travel collection.
Over time, your photo books can become a visual archive of your adventures – preserving not only the destinations you’ve visited, but also the people, experiences and small details that made each journey memorable.
Creating a coffee table travel photo book takes a little more thought than simply uploading every photograph from your camera roll, but that’s precisely what makes the finished result special.
By carefully selecting your photographs, creating a clear structure, keeping the design consistent and adding personal details, you can transform hundreds of digital images into a beautifully curated record of your trip.
Rather than allowing those memories to disappear into another folder on your phone, you’ll have something tangible you can pick up, share with others and revisit whenever you’re ready to relive your next adventure.
Have you ever turned your travel photos into a photo book? What trip would you love to create one for?